
Integration Method - iOS SDK
In this document, we provide a detailed guide for integrating OSL Pay services through iOS SDK.
Product introduction
The OSL Pay SDK allows partners to integrate OSL Pay crypto purchase services without additional development. It is built upon our core OpenAPI system.
Below is a comparison between integration via the OSL Pay SDK and the OpenAPI:
| Feature | OSL Pay SDK integration | OpenAPI integration |
|---|---|---|
| Integration complexity | Low; plug-and-play with the SDK. | Higher; requires custom client and backend logic. |
| Time to market | Fast (ideal for POCs or rapid pilots). | Slower (requires full dev/test cycles). |
| User experience | Pre-built UI flow. | Fully customizable; total UX control. |
| Server responsibilities | Handle webhooks and verify orders. | Initiate orders, query status, and manage the end-to-end flow. |
| Best for | Startups, rapid integrations, or resource-constrained projects. | Established platforms with full dev teams requiring bespoke business logic. |
Product demo
Login
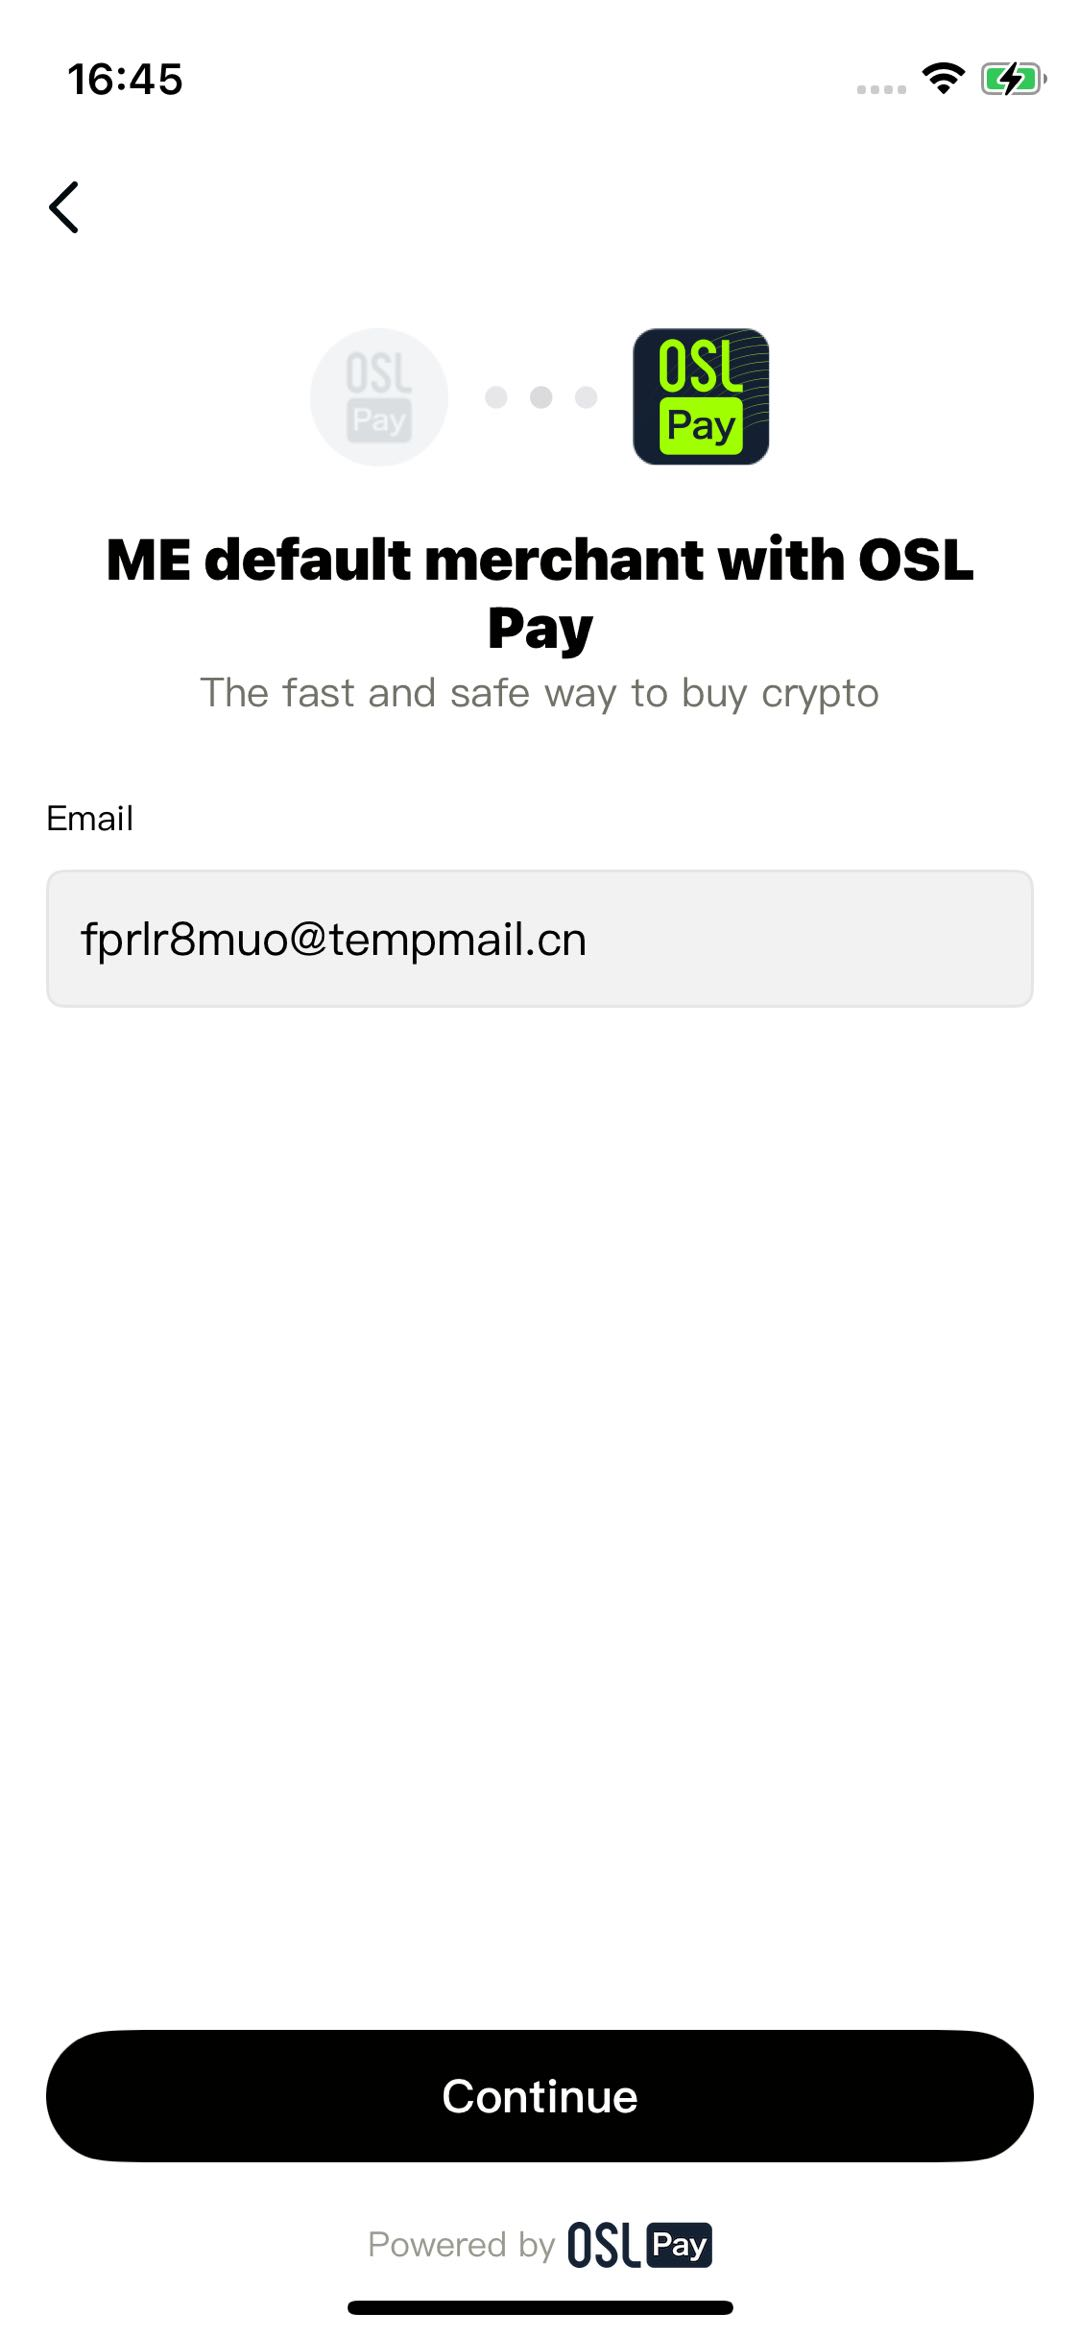
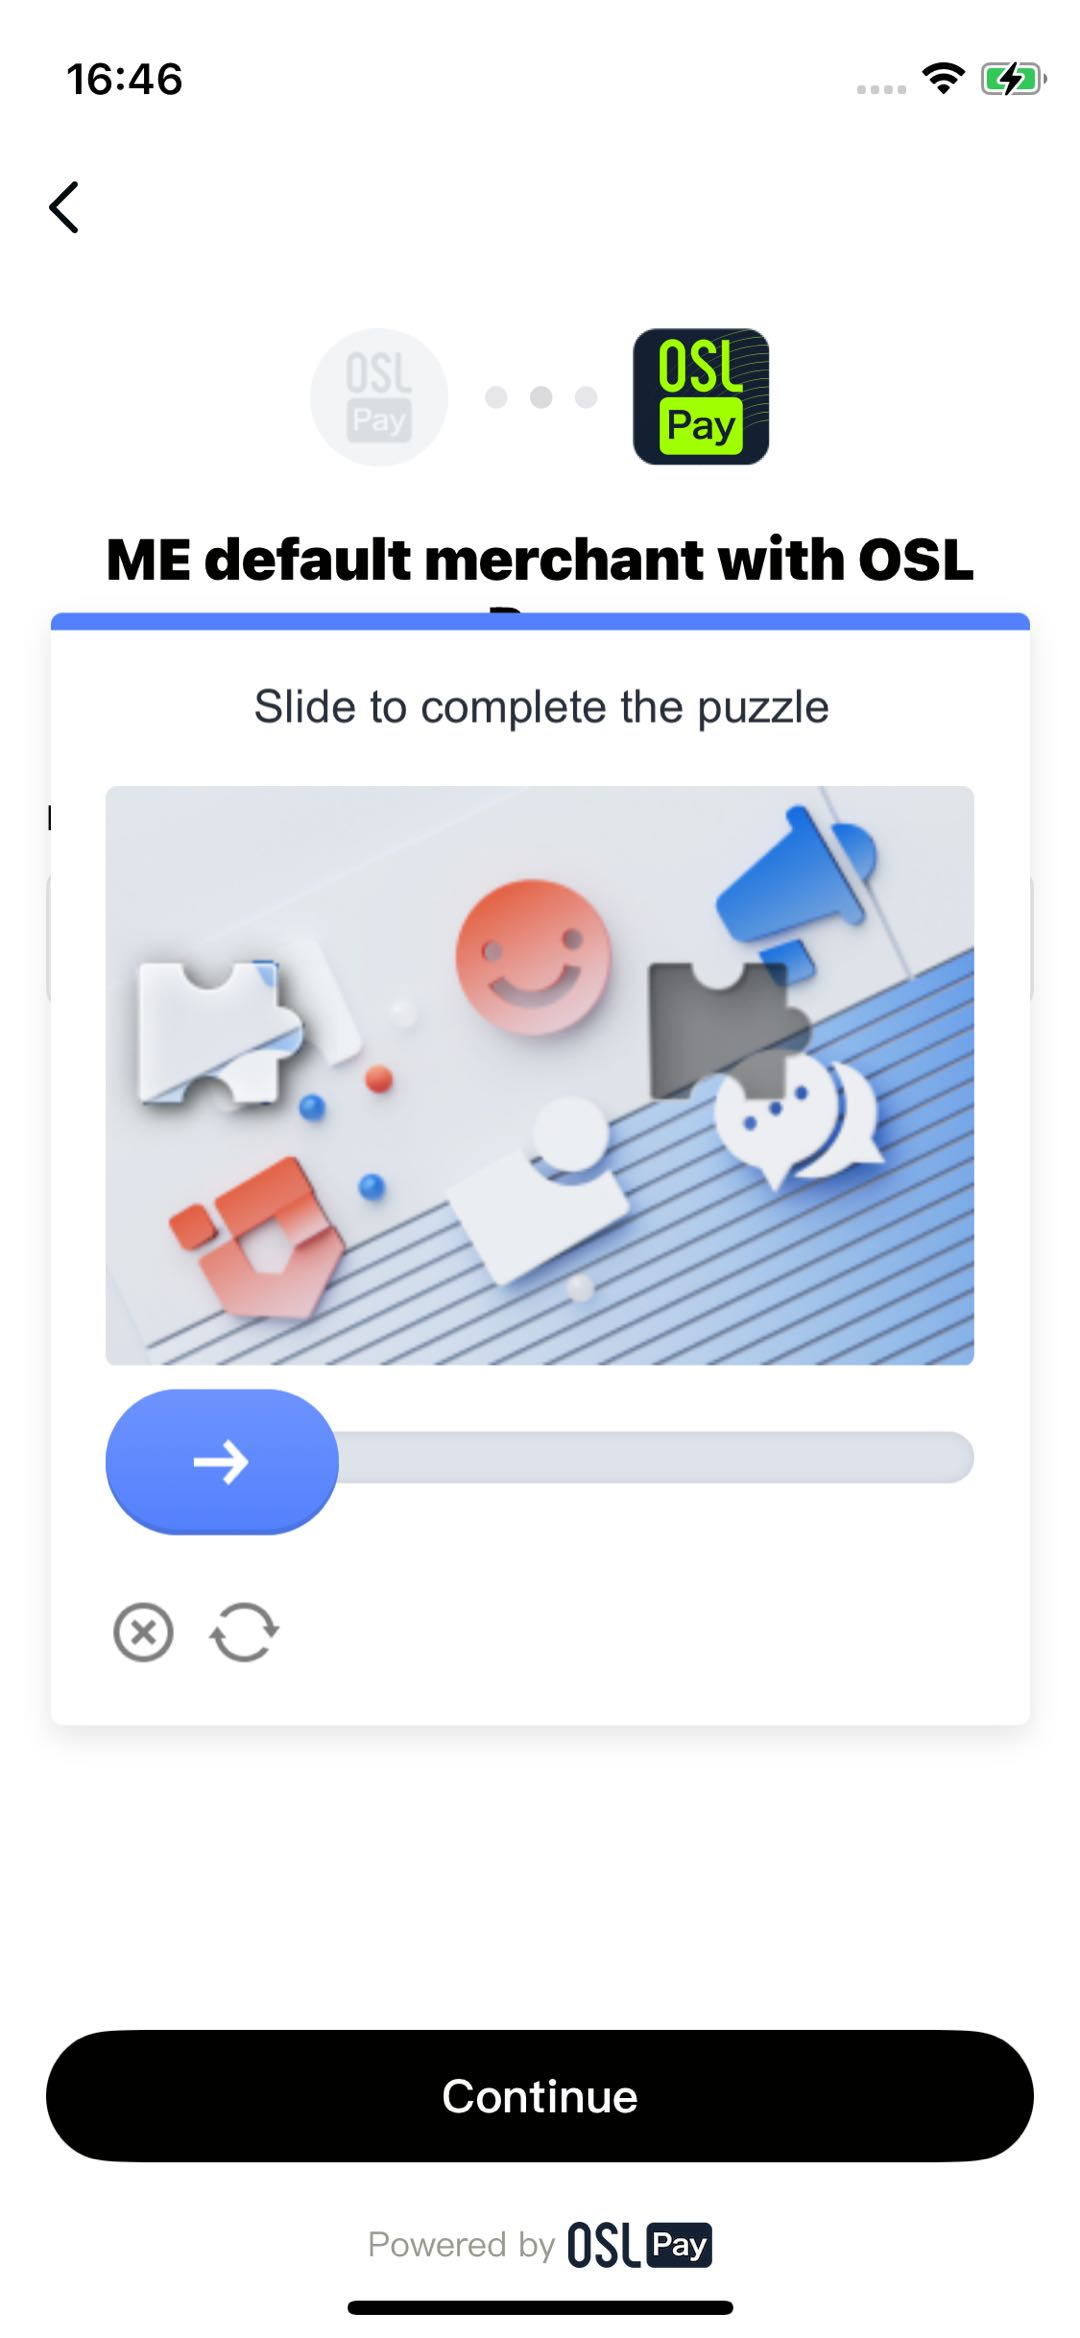
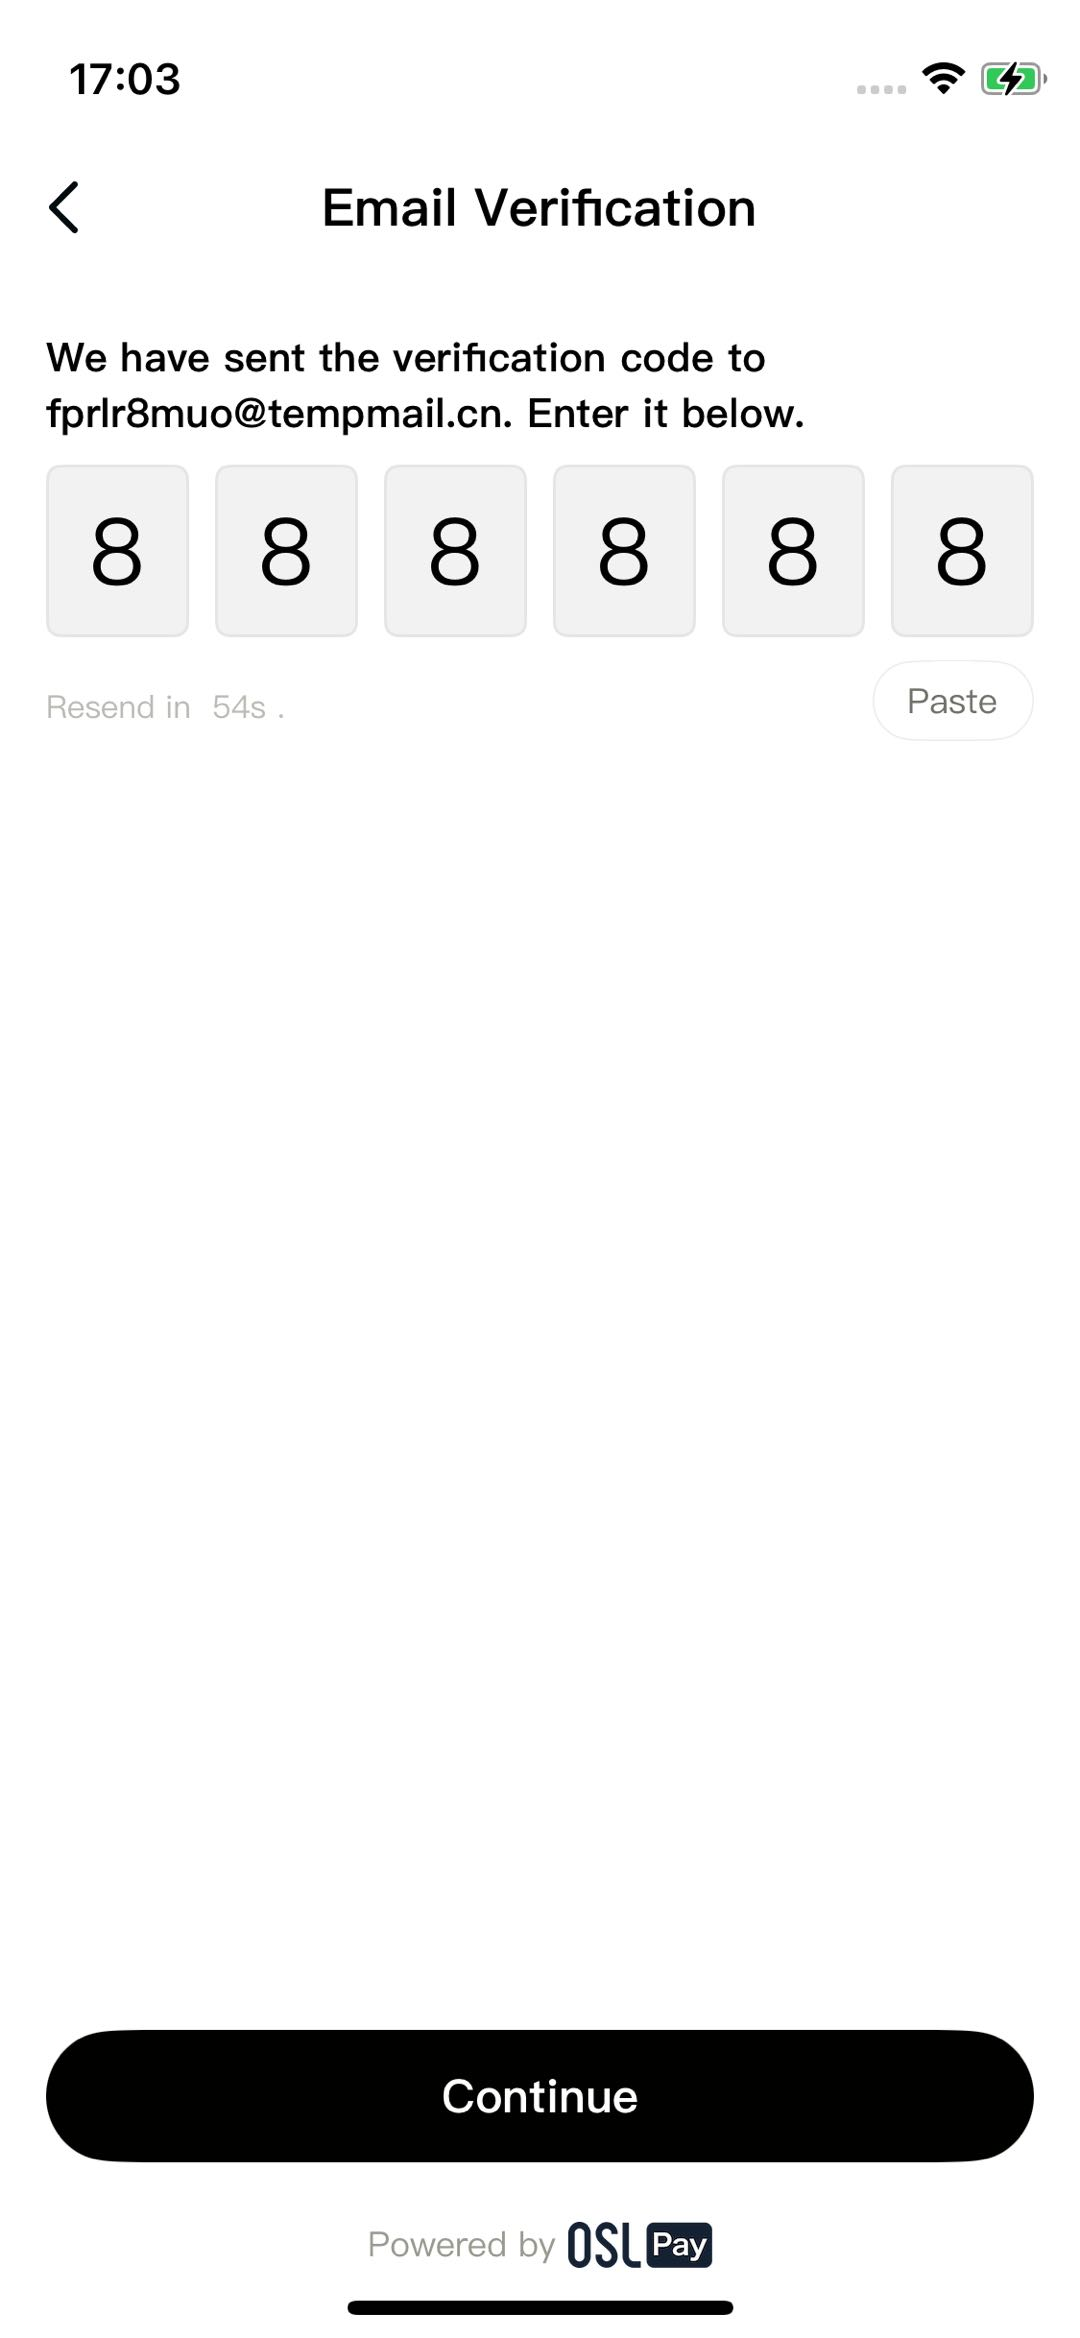
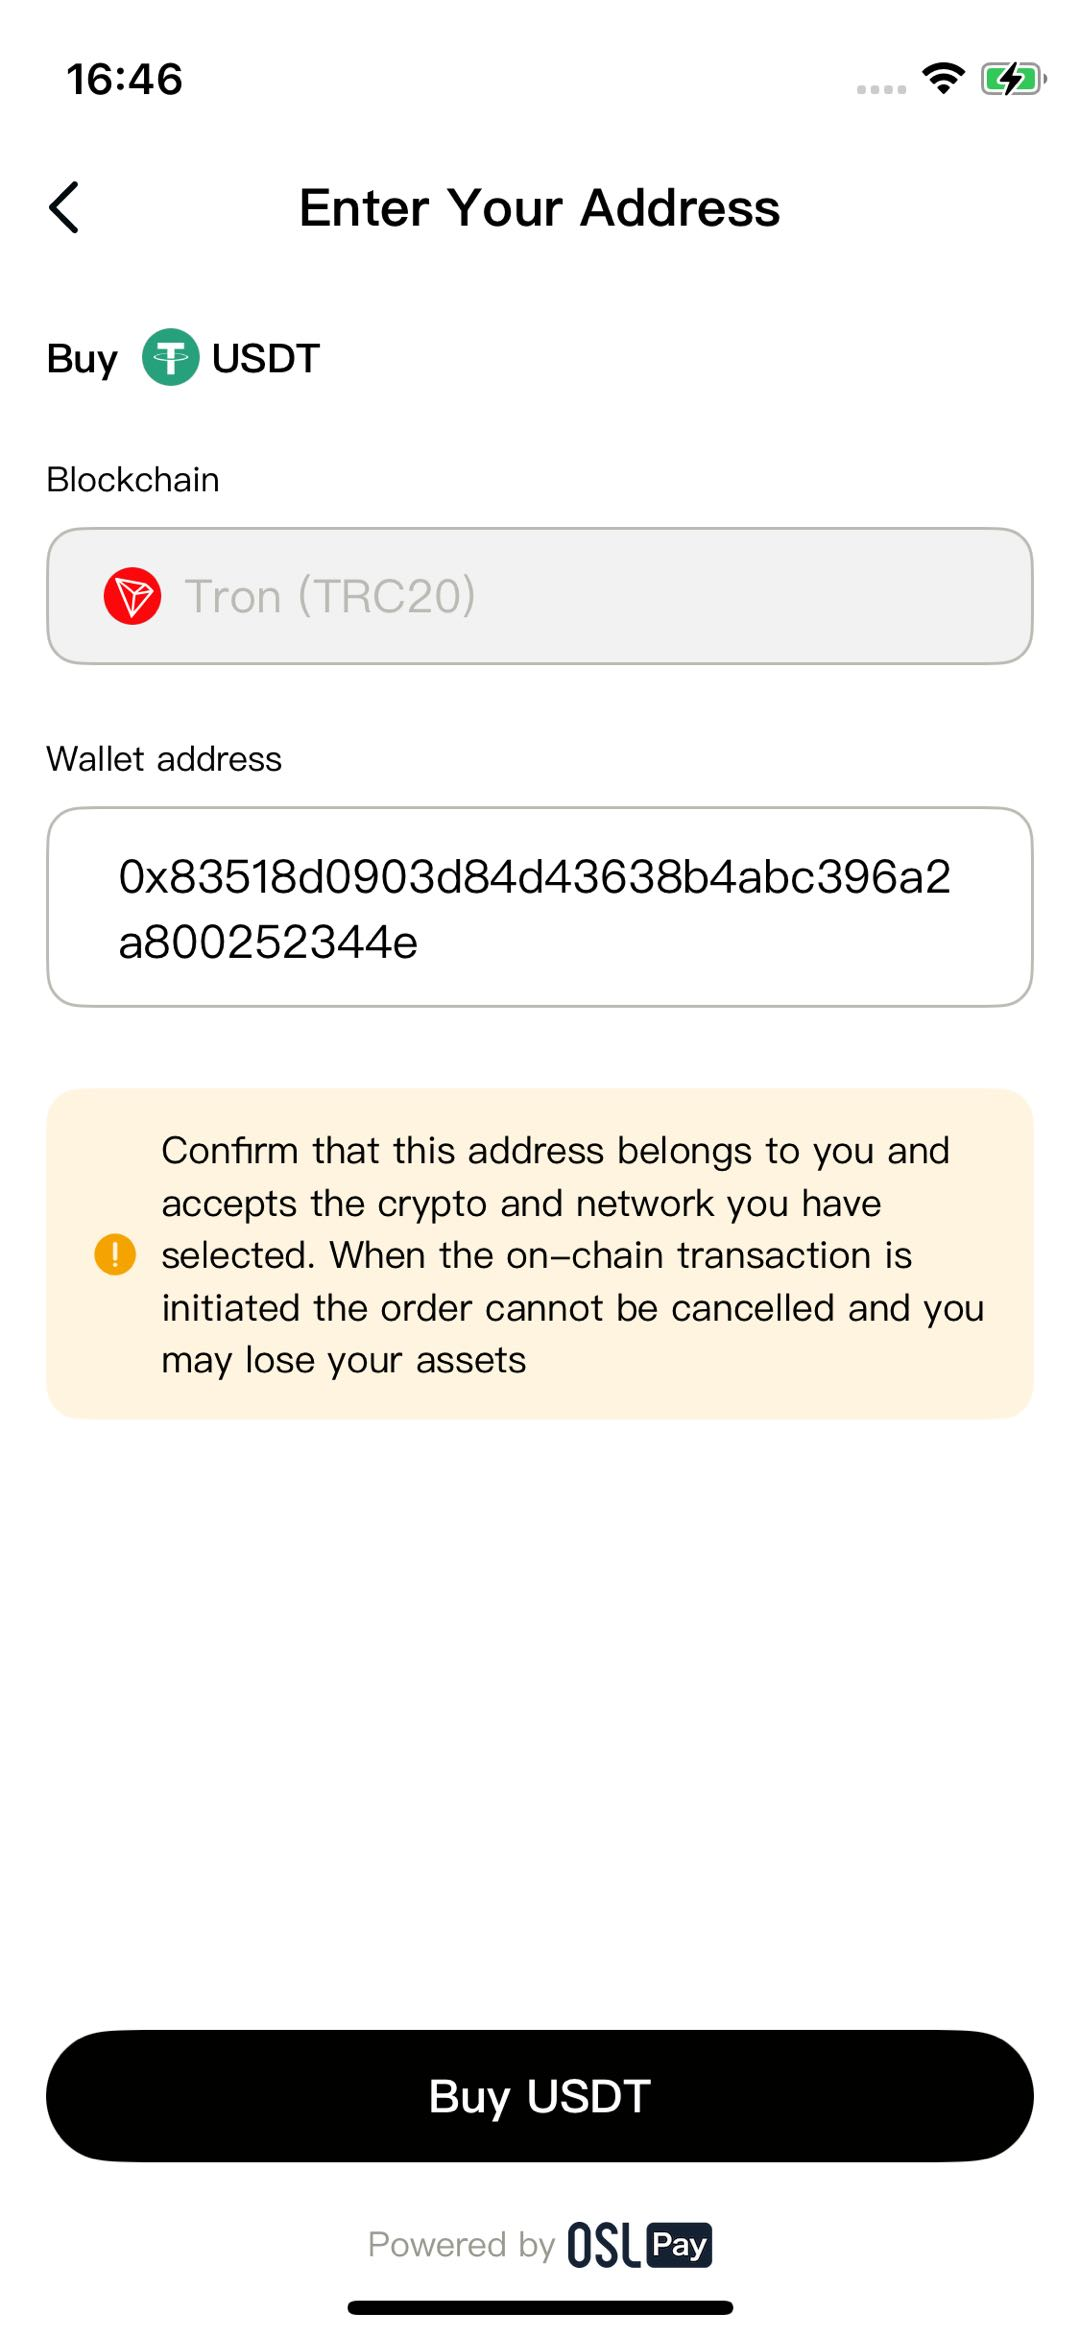
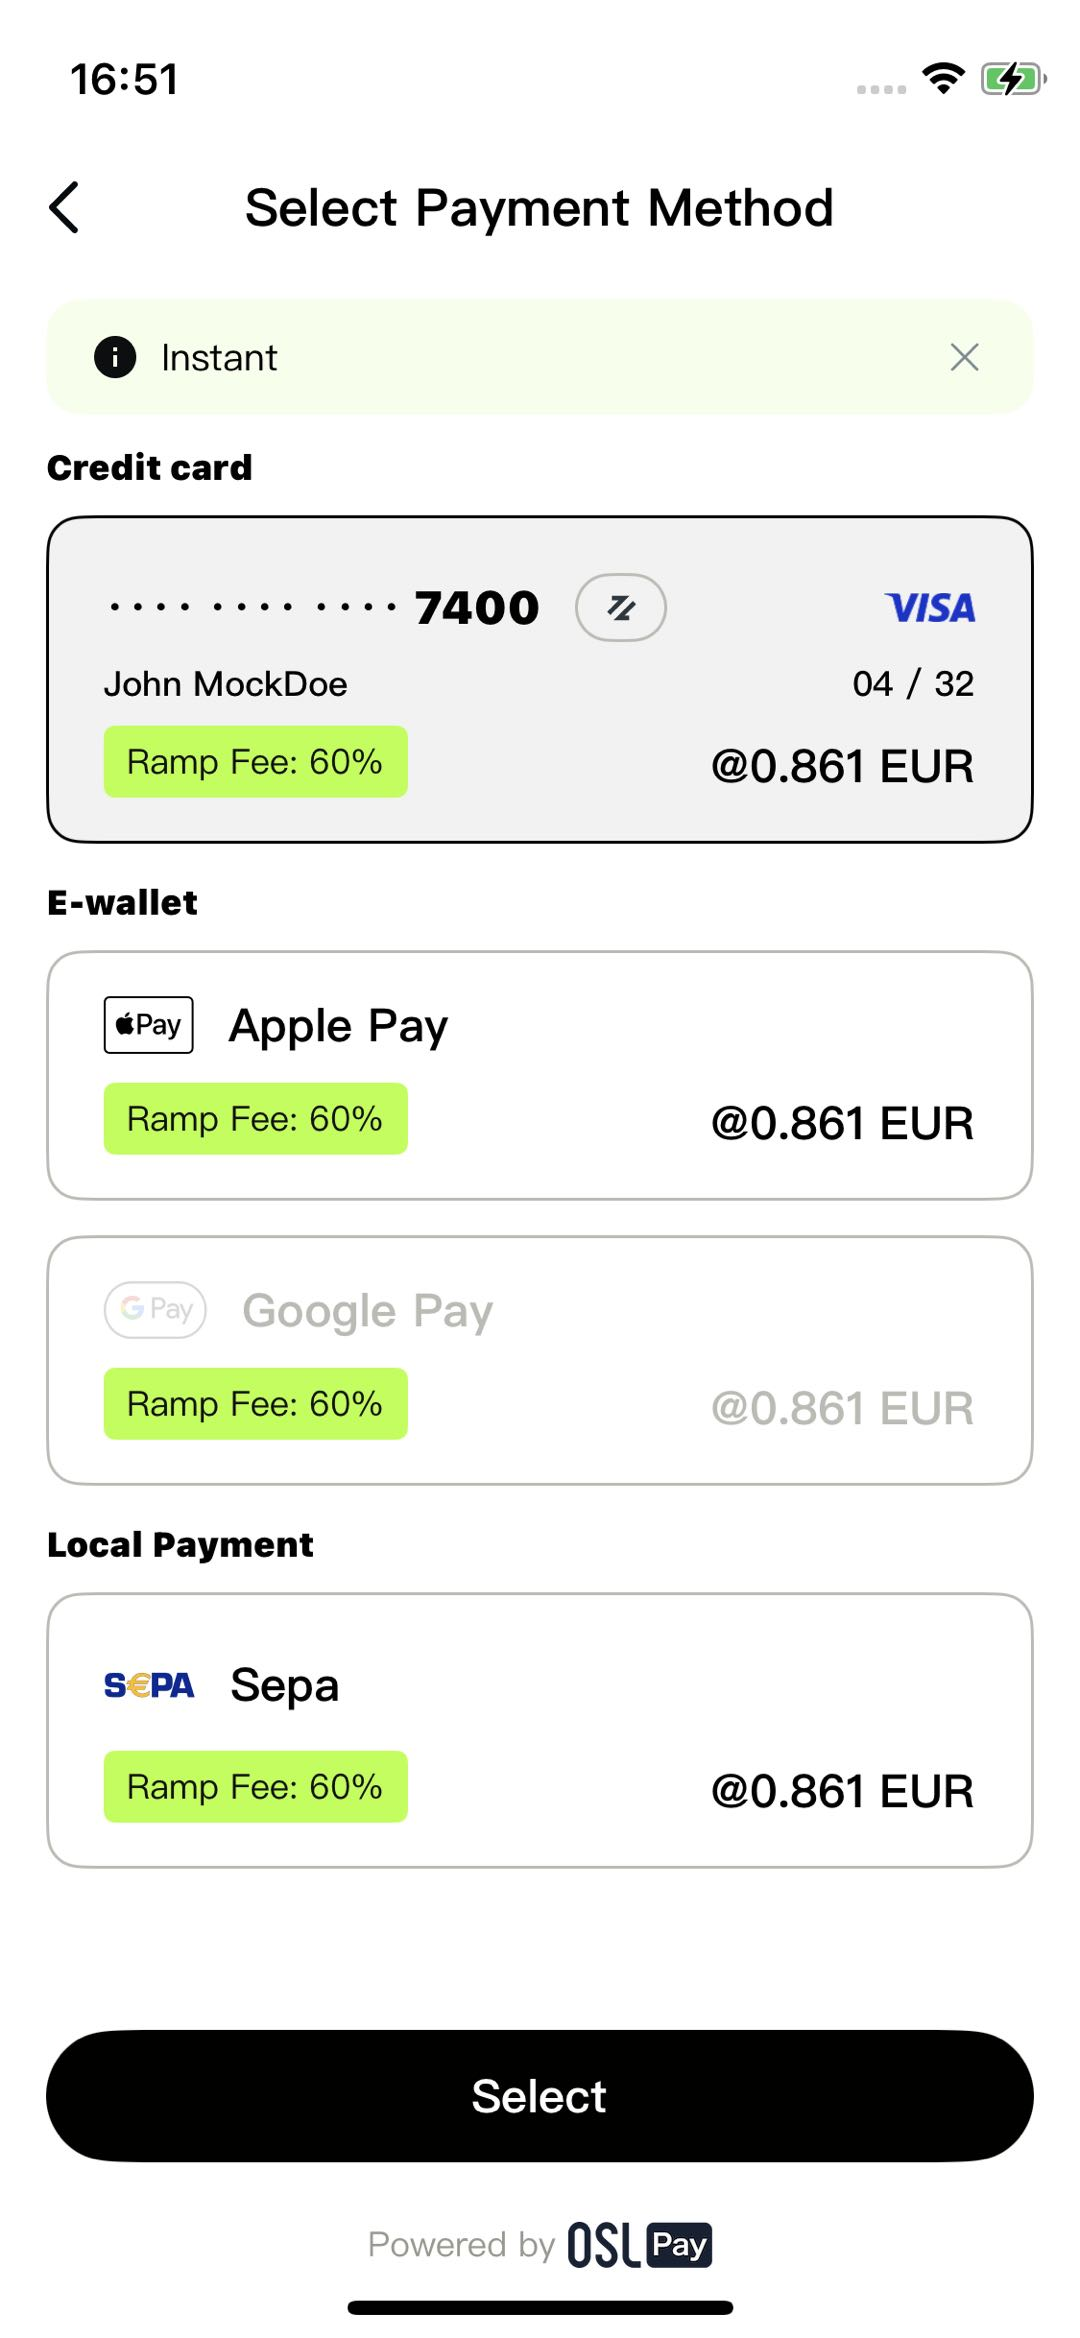
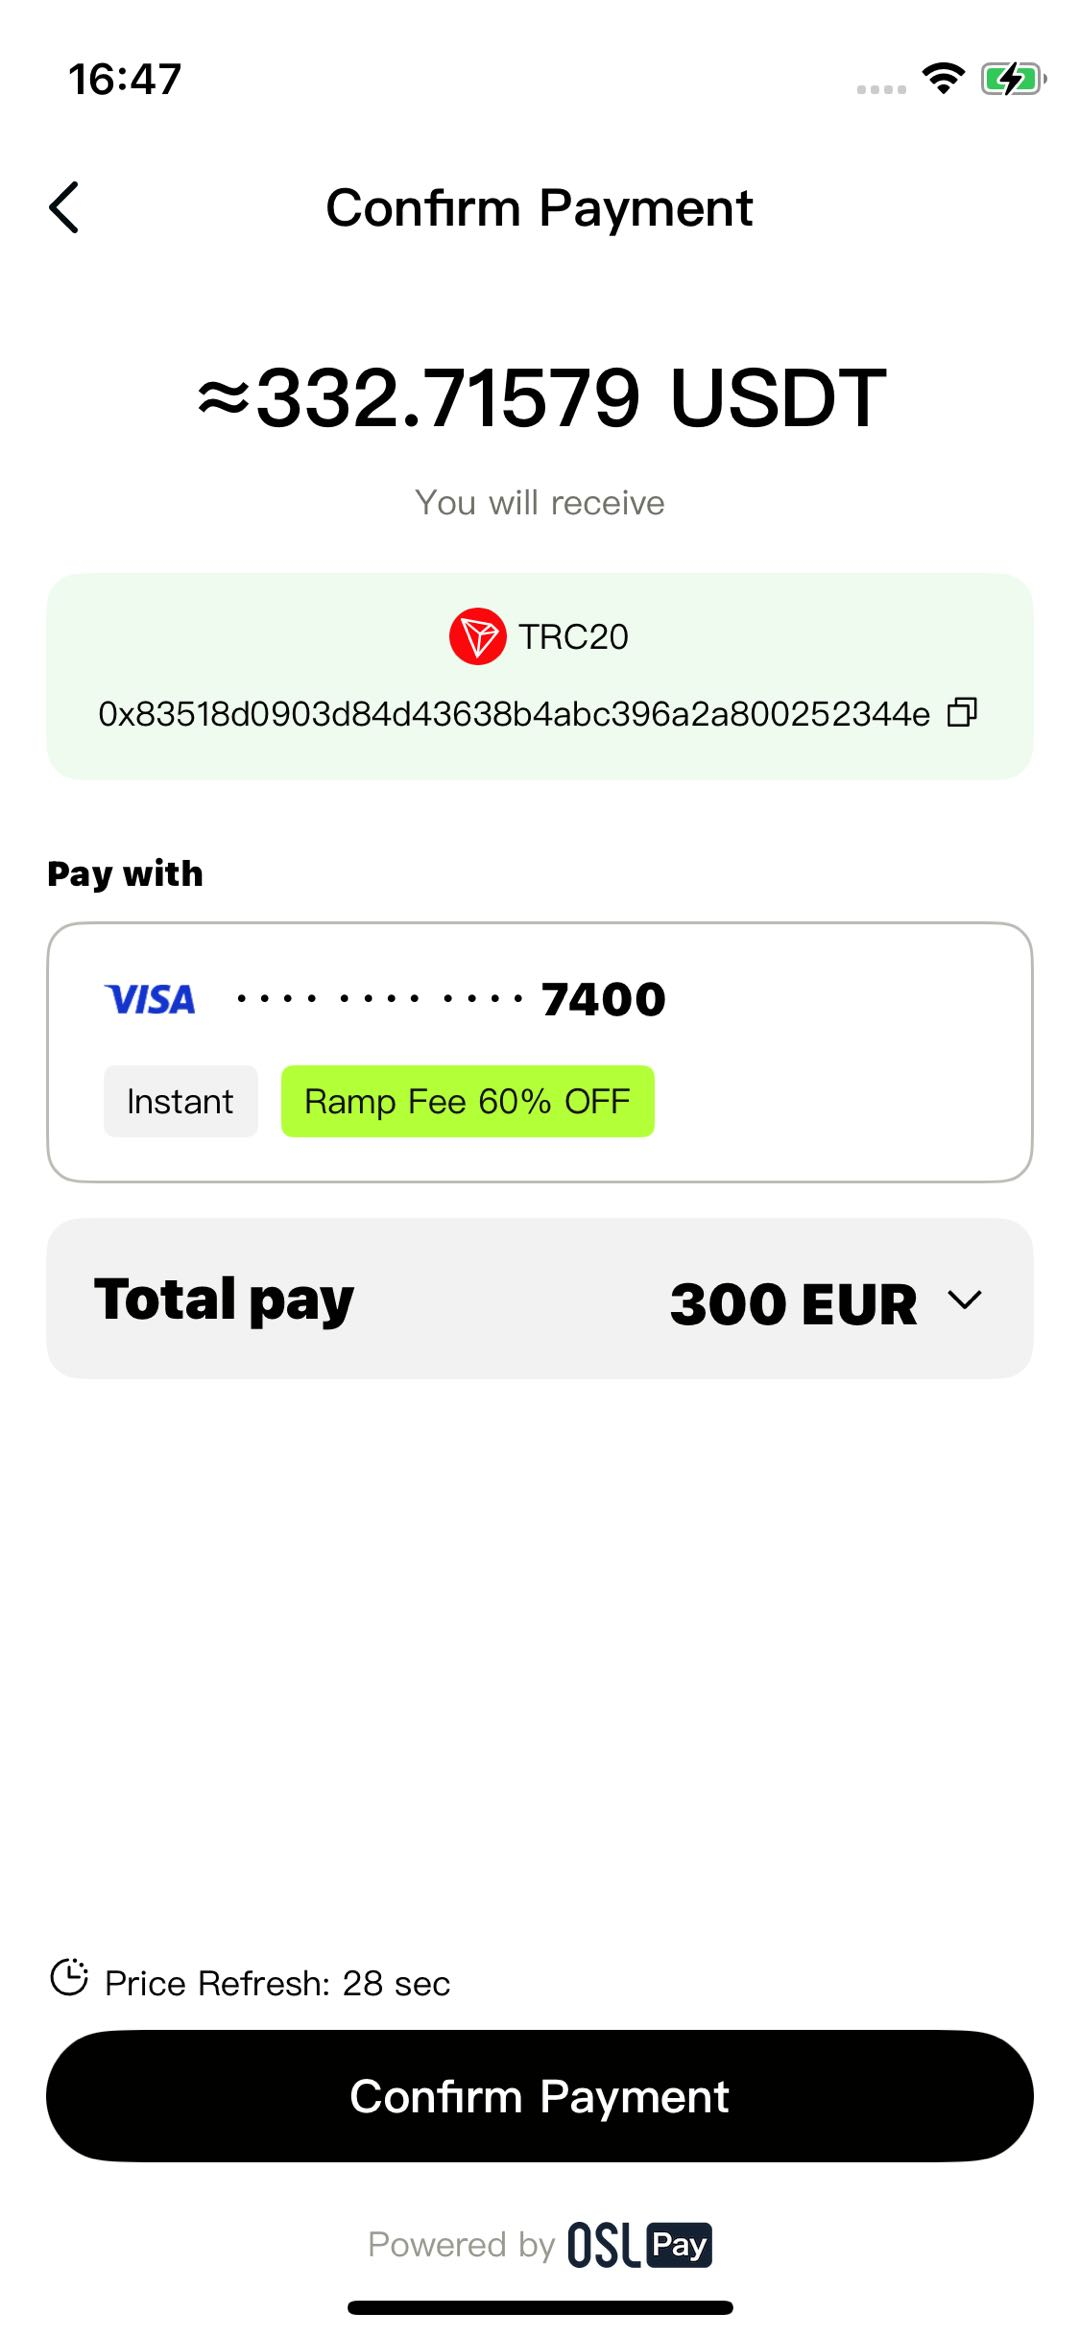
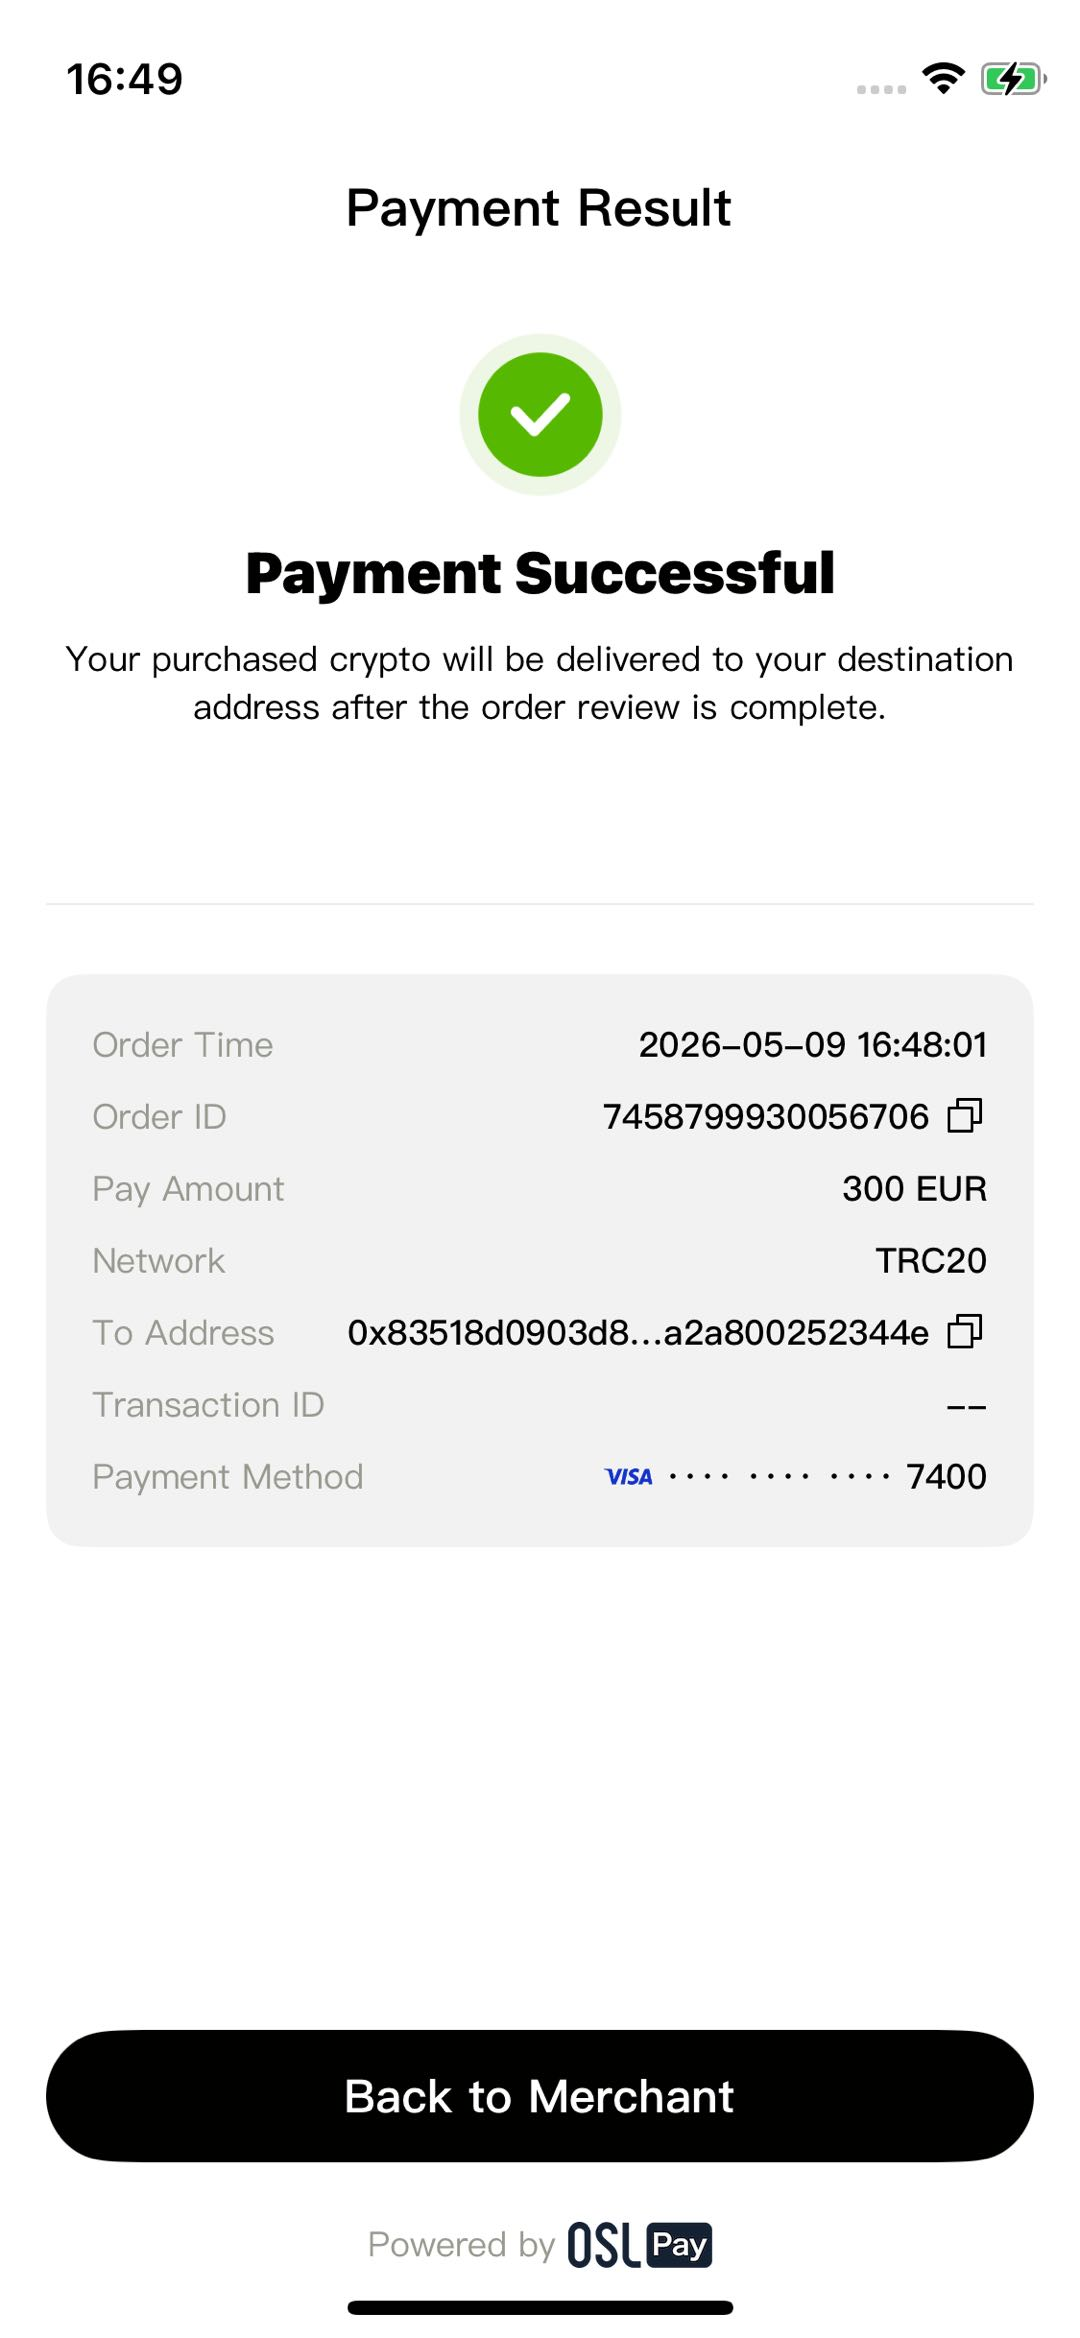
Buy crypto
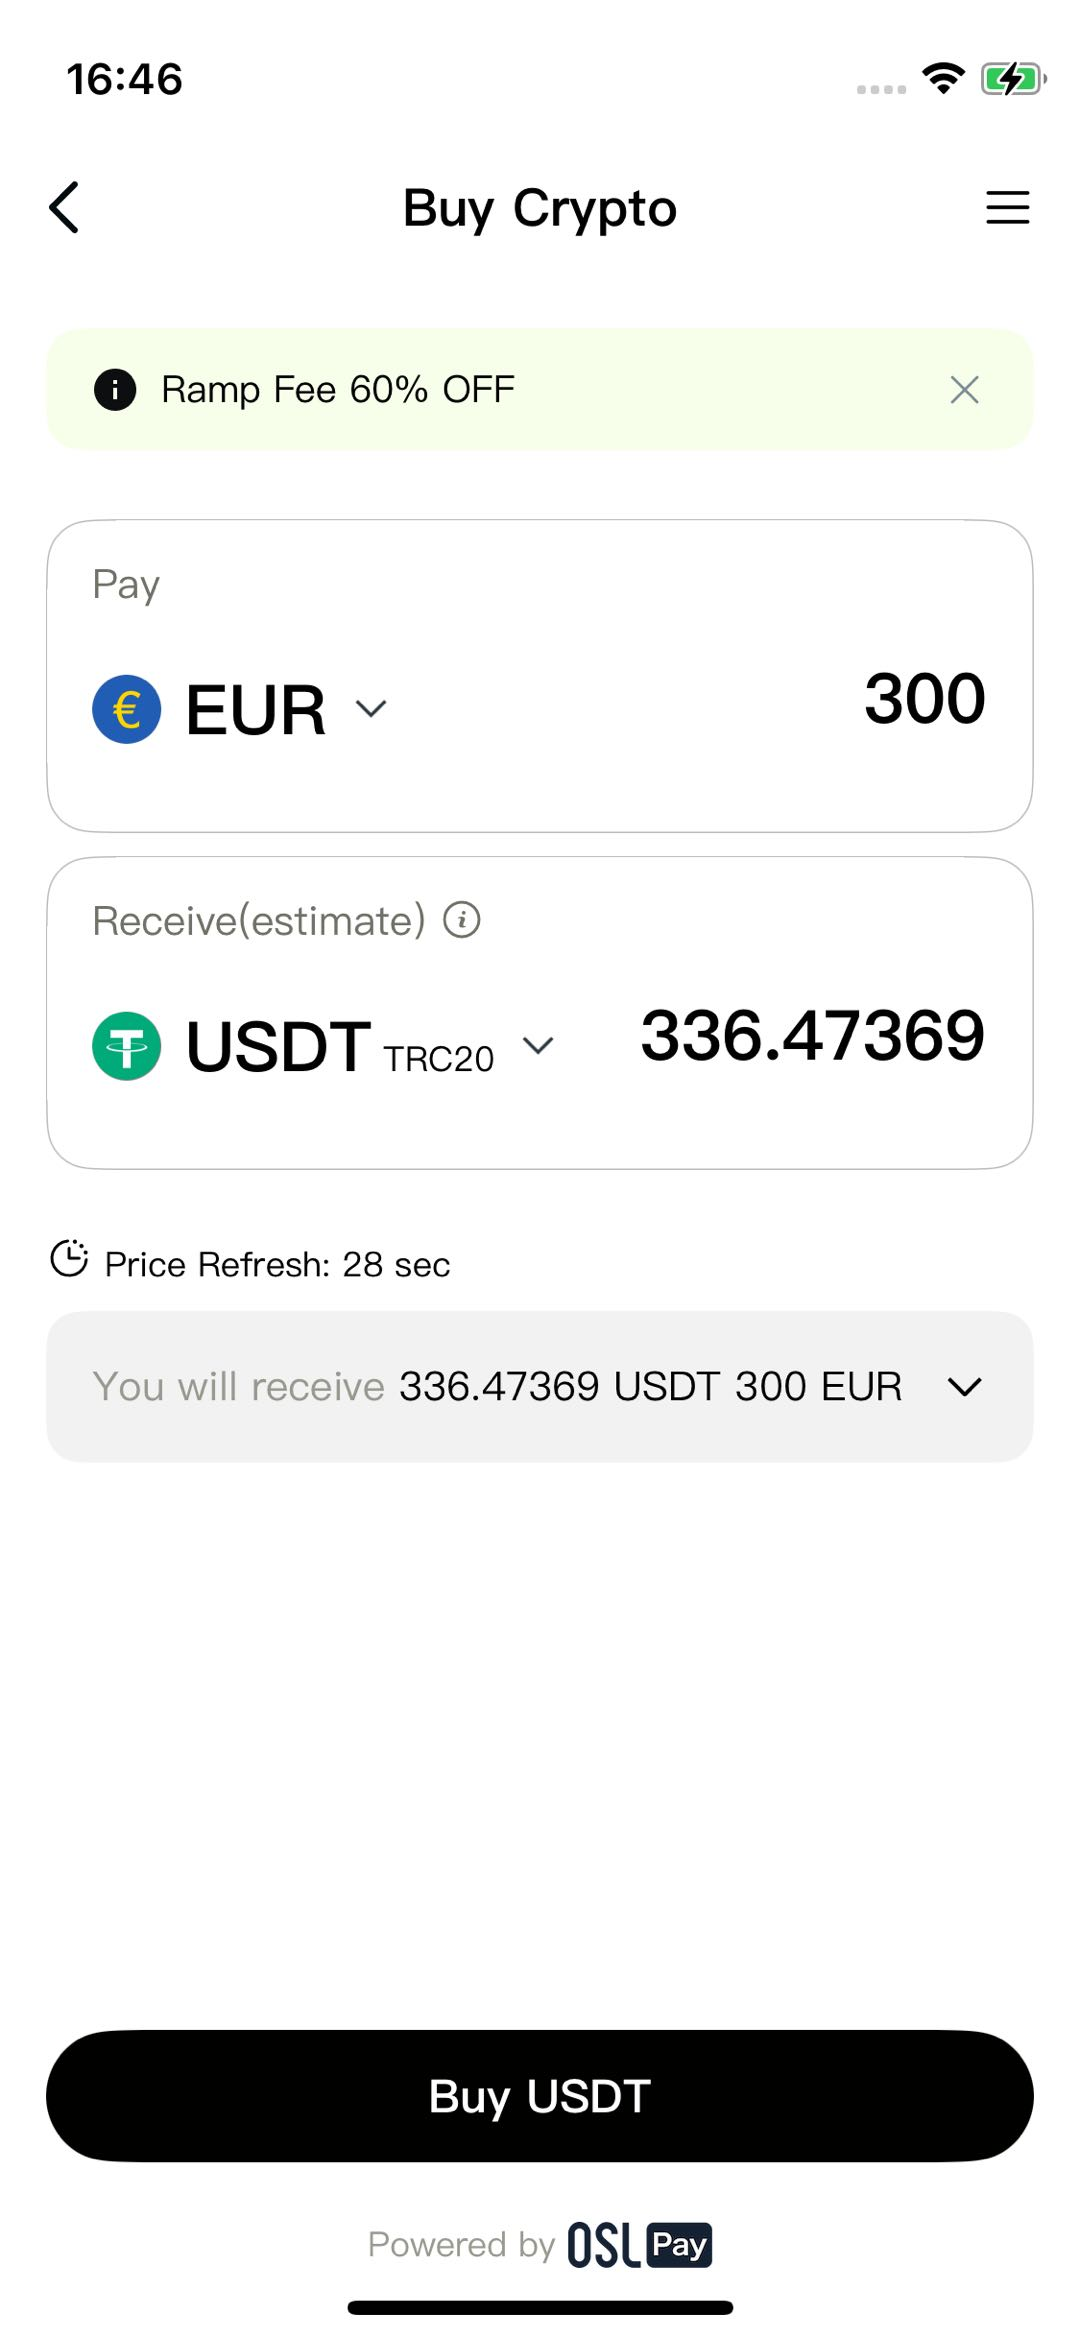
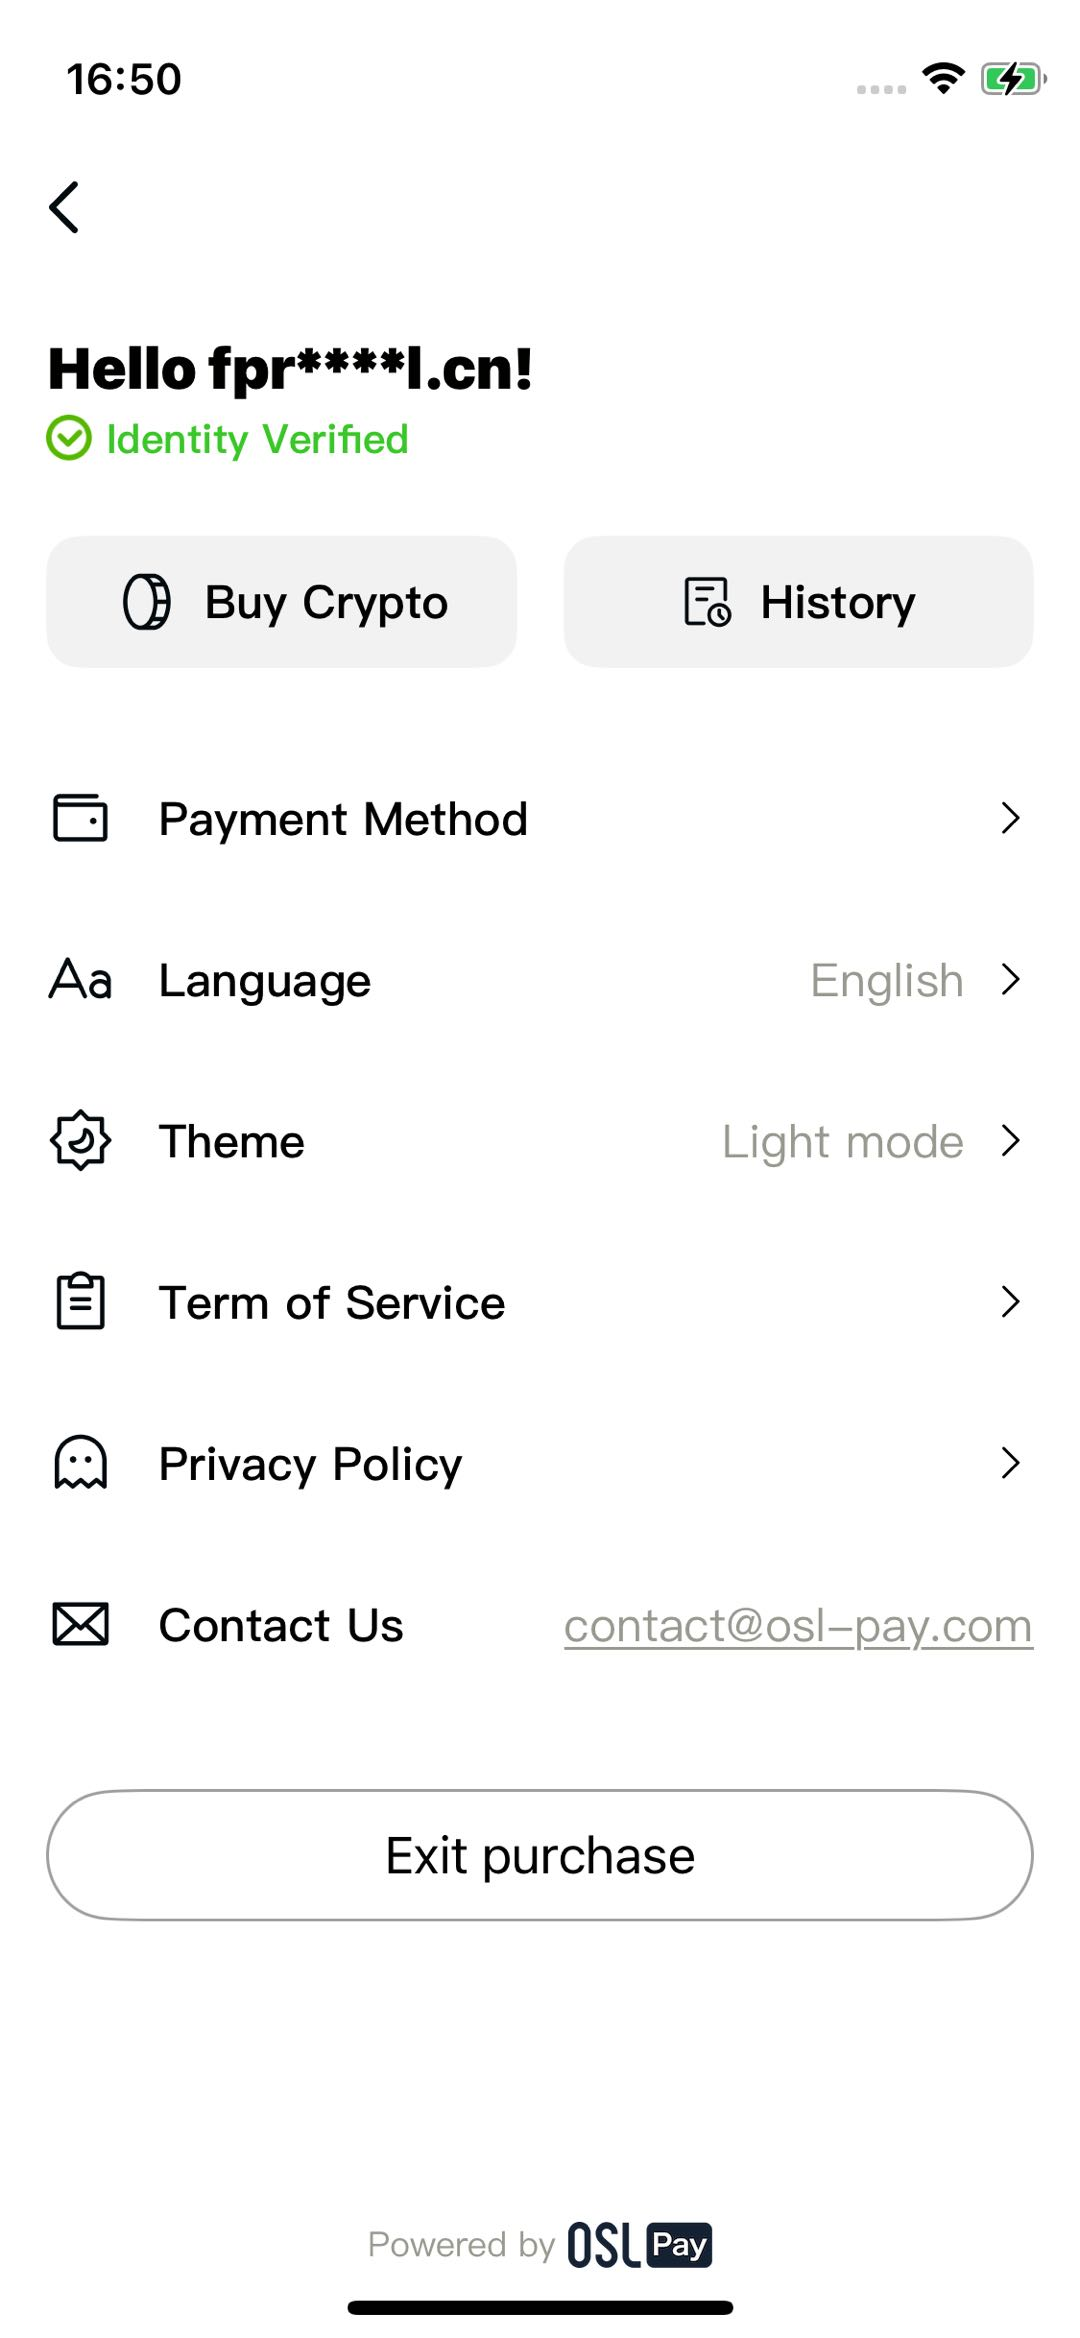
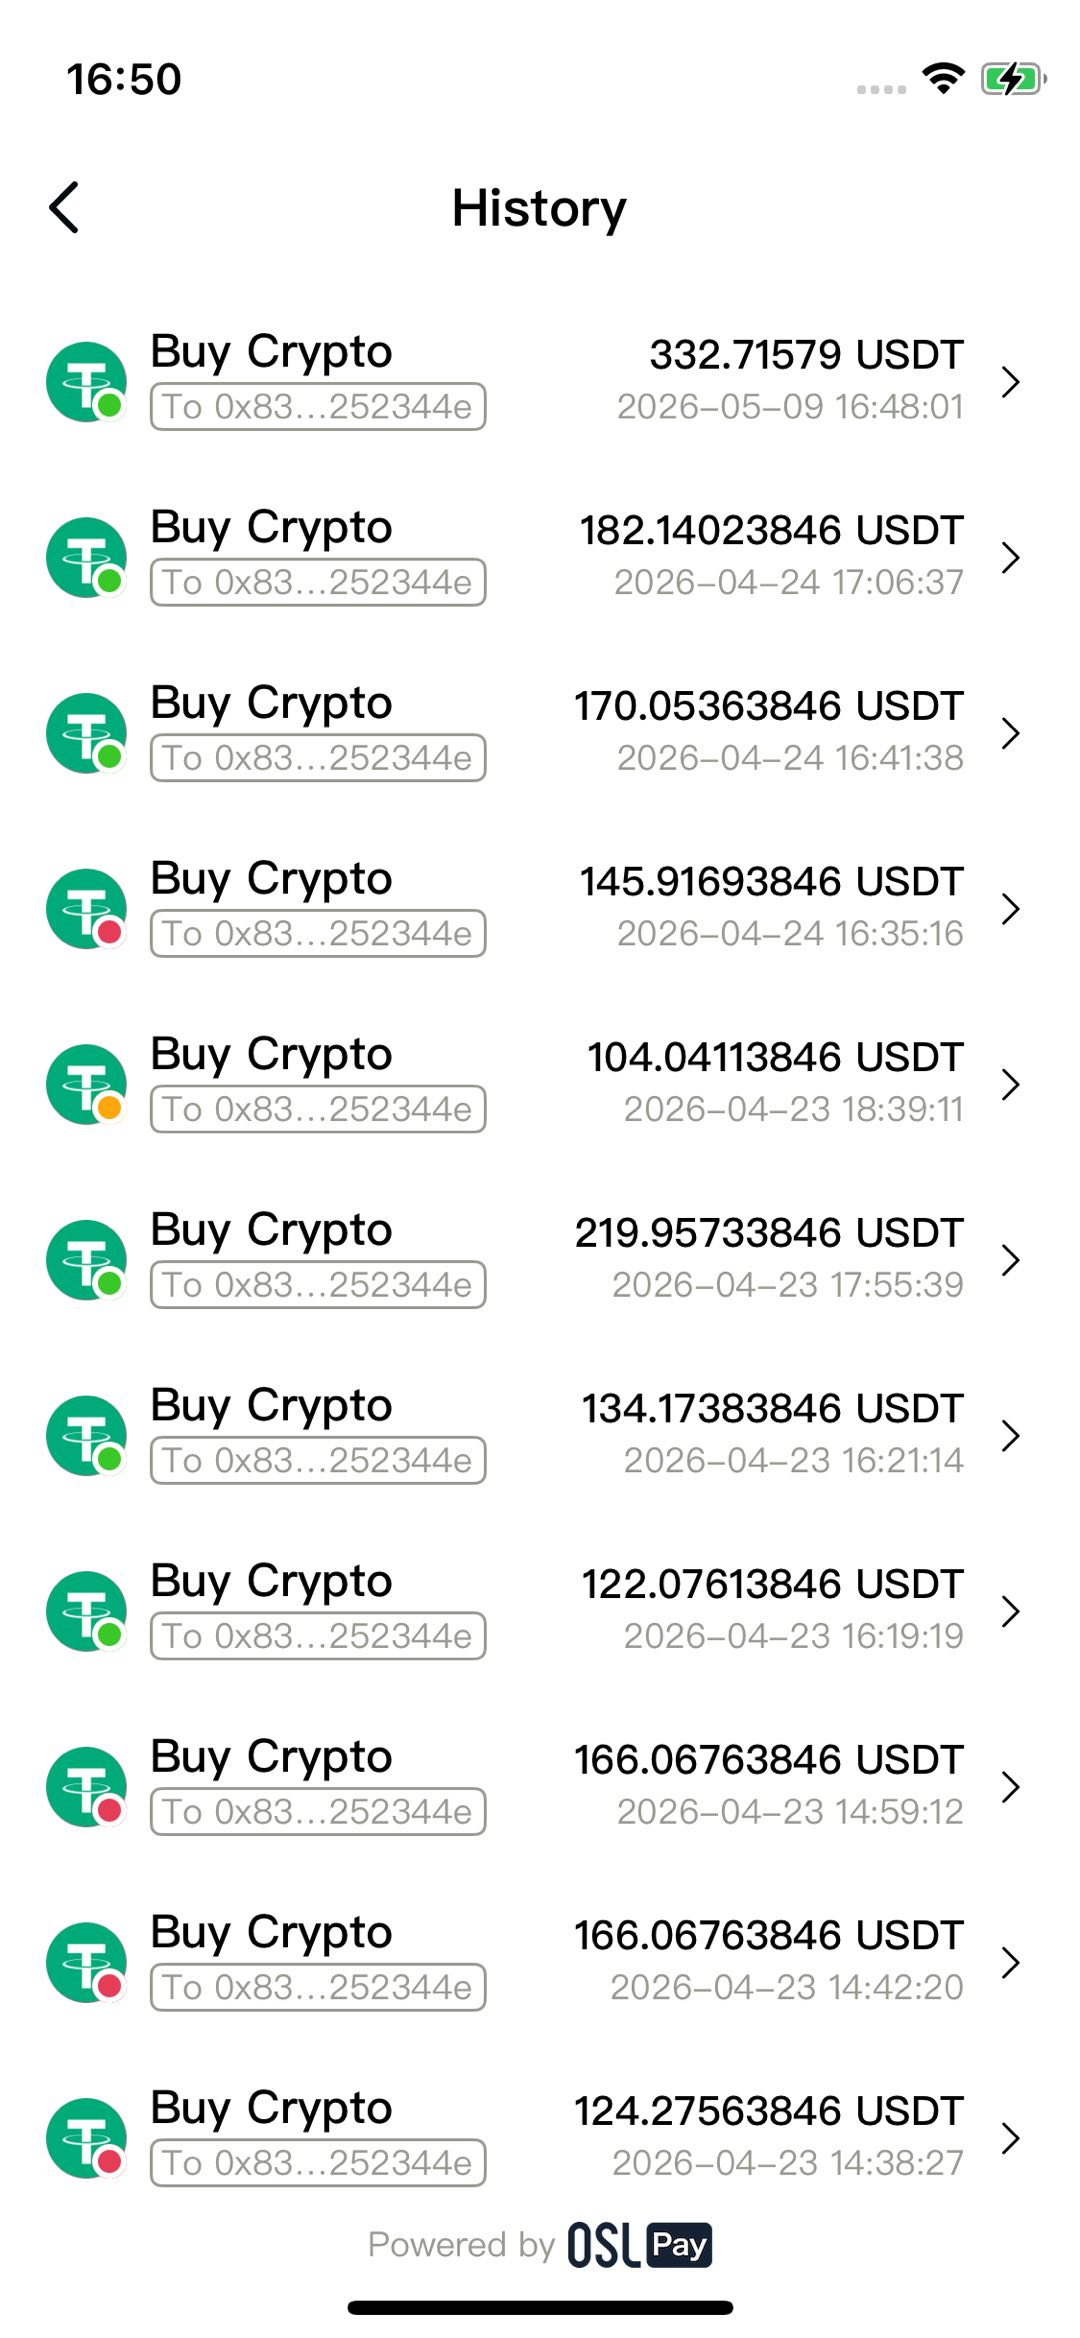
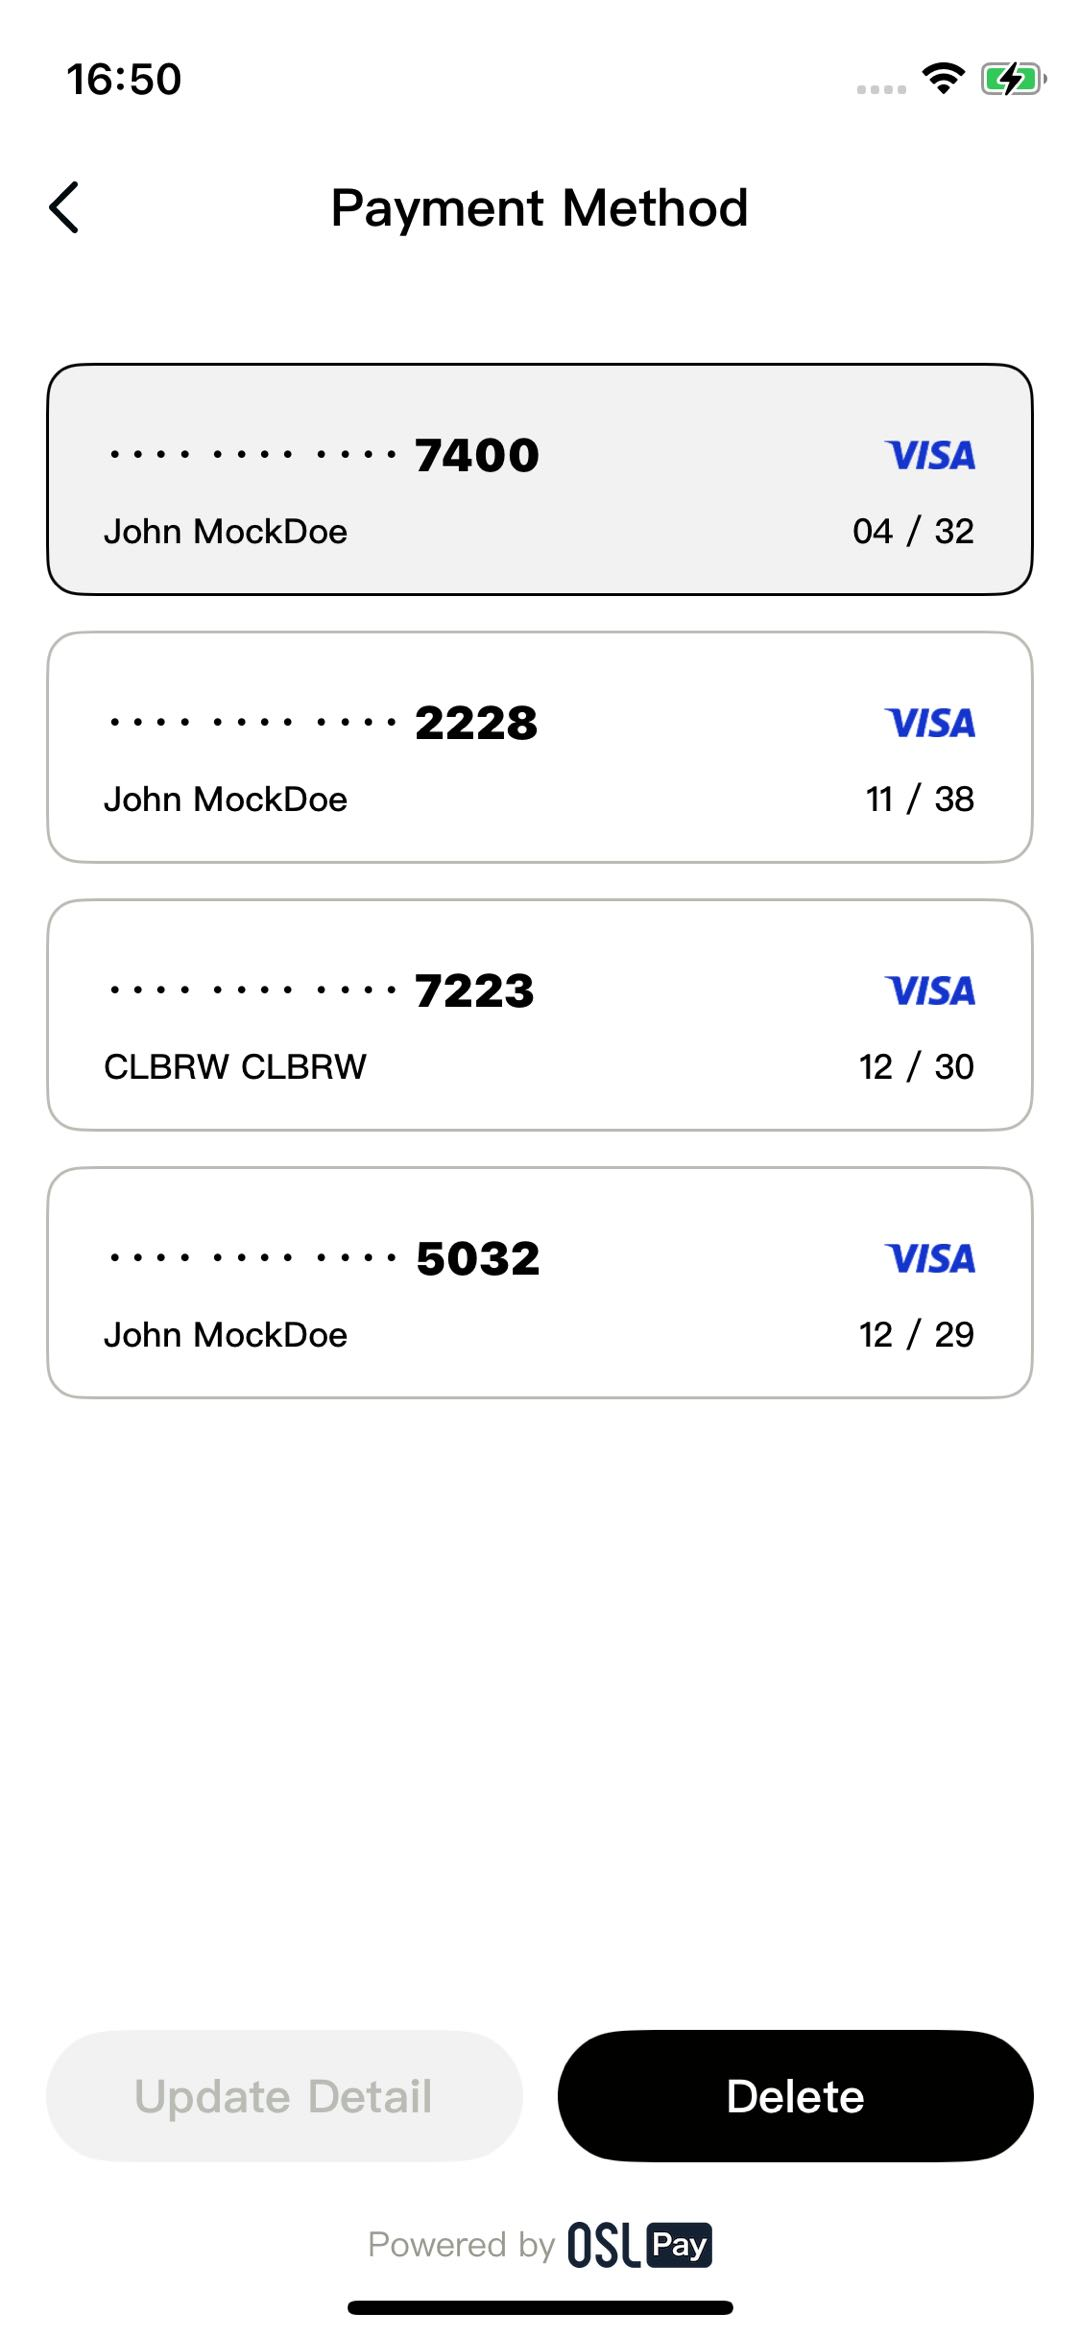
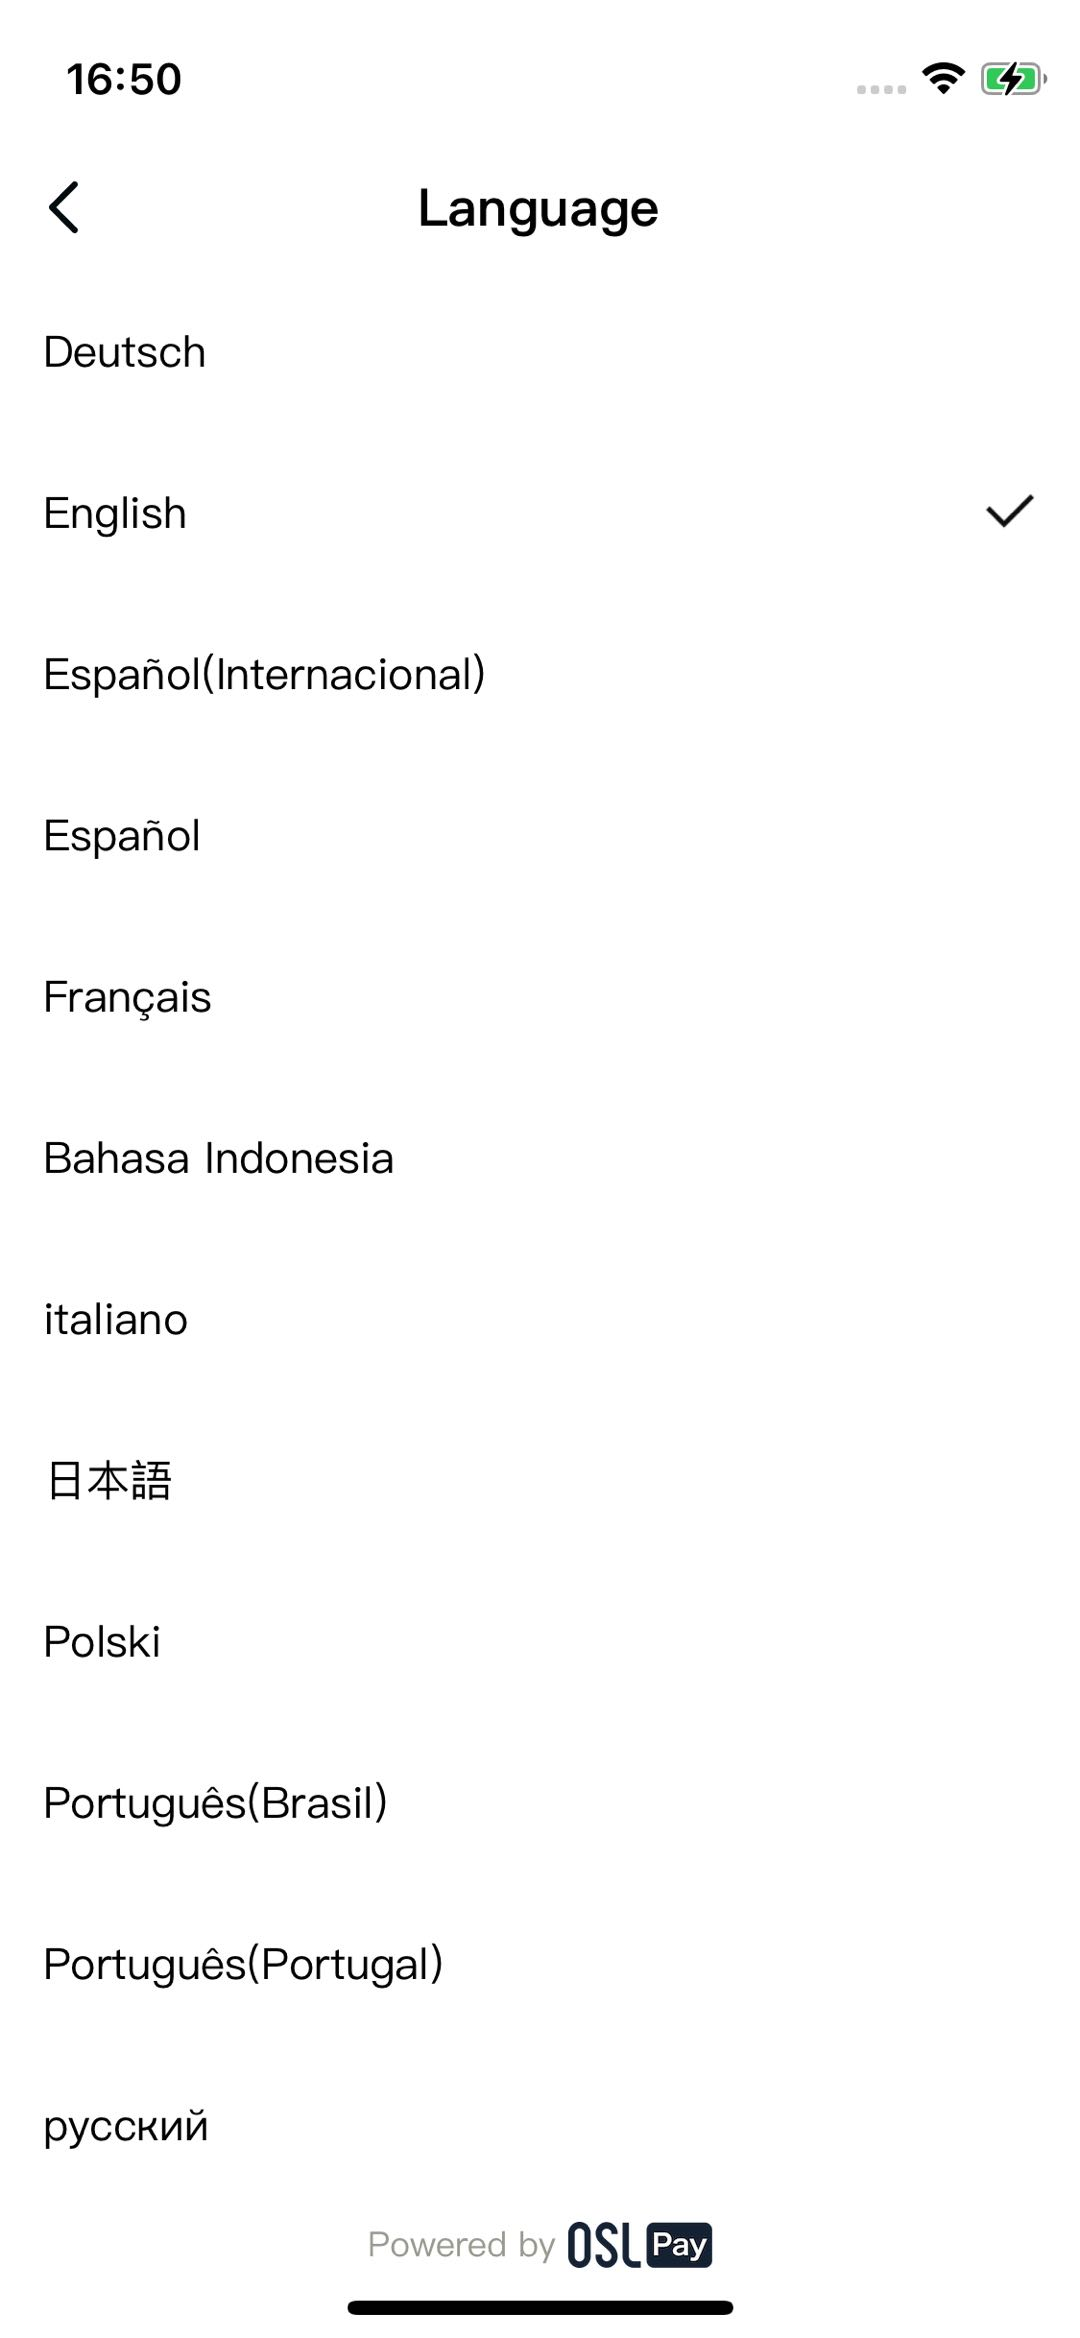
User center
Integration steps
1.Add OSL_Pay_SDK.xcframework
OSL_Pay_SDK.xcframework- Drag the
OSL_Pay_SDK.xcframeworkfile into your Xcode project (theFrameworksfolder is recommended). - In the dialog that appears, check Copy items if needed and select all relevant Targets.
- Static Library: You must also add the
OSL_Pay_SDK_Resources.bundlefile. Dynamic Library: No bundle is required, as it is already packaged within thexcframework.
1.1.Add GTCaptcha4.xcframework
The SDK utilizes GeeTest for security, requiring the addition of GTCaptcha4.xcframework.
- Drag the
GTCaptcha4.xcframeworkfile into your Xcode project (theFrameworksfolder is recommended). - In the dialog that appears, check Copy items if needed and select all relevant Targets.
- Then, add
-ObjCto Other Linker Flags in your project's Build Settings.
2.Configure Frameworks, Libraries, and Embedded Content
- Navigate to your project TARGETS > General > Frameworks, Libraries, and Embedded Content.
- Dynamic Library: Set
OSL_Pay_SDKto Embed & Sign. - Static Library: Set
OSL_Pay_SDKto Do Not Embed.
- Dynamic Library: Set
3.Configure dependencies
The OSL_Pay_SDK relies on several third-party libraries. Ensure the following are added to your Podfile:
  pod 'QMUIKit', '4.8.0'
  pod 'ReactiveObjC', '3.1.1'
  pod 'HandyJSON', :git => 'https://github.com/hxm705/HandyJSON.git'
  pod 'Masonry','1.1.0'
  pod 'SnapKit', '5.6.0'
  pod 'Risk', '3.0.4'
  pod 'ForterSDK', :git => 'https://bitbucket.org/forter-mobile/forter-ios-sdk.git', :tag => '3.0.4'
  pod 'MMKV', '1.2.11'
  pod 'Kingfisher', '7.8.1'
  pod 'KingfisherSVG', '1.0.0'
  pod 'Moya', '15.0.0'
  pod 'Alamofire', '5.10.2'
  pod 'IQKeyboardManager','6.5.3'
  pod 'RxSwift', '6.5.0'
  pod 'SwiftyJSON', '5.0.2'
  pod 'CocoaLumberjack', '3.8.1'
  pod 'RxGesture', '4.0.4'
  pod 'NSObject+Rx', '5.2.2'
  pod 'SDWebImage', '5.14.3'
  pod 'lottie-ios', '3.3.0'
  pod 'DeviceKit', '5.7.0'
  pod 'LYEmptyView', '1.3.1'
  pod 'FingerprintJS', '1.6.0'
  pod 'SwiftyRSA', '1.7.0'

  # Volcengine (Optional)
  source 'https://github.com/volcengine/volcengine-specs.git'
  pod 'RangersAppLog', '6.16.9', :subspecs => ['Host/SG', 'Core']
Add the following hook to the bottom of your Podfile:
post_install do |installer|
  installer.generated_projects.each do |project|
      project.targets.each do |target|
          target.build_configurations.each do |config|
              config.build_settings['IPHONEOS_DEPLOYMENT_TARGET'] = '14.0'
              config.build_settings['BUILD_LIBRARY_FOR_DISTRIBUTION'] = true
          end
      end
  end
end
4.Configure SDK event tracking (Optional)
To optimize SDK performance, we include optional event tracking via ByteDance Volcengine AppLog. This is strictly for internal SDK data; omitting it will not impact core functionality.
If using the tracking version, add this to your Podfile:
source 'https://github.com/volcengine/volcengine-specs.git'
pod 'RangersAppLog', '6.17.6', :subspecs => ['Host/SG', 'Core']
Note: Overseas users need to change the Host of RangersAppLog to SG.
Install dependencies by running:
pod install5.SDK permissions
<key>NSCameraUsageDescription</key>
<string>This allows you to take photos for identity verification during the KYC process.</string>
<key>NSPhotoLibraryUsageDescription</key>
<string>This allows you to select or save photos for identity verification during the KYC process.</string>
6.Configure Apple Pay
If your merchant account supports Apple Pay, add the Apple Pay capability under Signing & Capabilities. You must apply for a Merchant ID via your Apple Developer account and synchronize it with OSL Pay.
Usage instructions
1.Import headers
Import the SDK into your source files:
// Swift
import OSL_Pay_SDK// Objective-C
#import <OSL_Pay_SDK/OSL_Pay_SDK.h>
#import <OSL_Pay_SDK/OSL_Pay_SDK-Swift.h>2.Initialize the SDK
Initialize the SDK in your AppDelegate before use.
// Default initialization (Production environment, tracking disabled)
OSLPayApp.setup()
// Sandbox mode (Debug only; disable for production)
OSLPayApp.setup(openSandBoxEnv: true)
// openSandBoxEnv: Set false for production transactions.
// with: Pass launchOptions for SDK context binding.
// enableTrack: Set true to enable user behavior/transaction tracking.
OSLPayApp.setup(openSandBoxEnv: false, with: launchOptions, enableTrack: true)
Example code:
import OSL_Pay_SDK

func application(_ application: UIApplication, didFinishLaunchingWithOptions launchOptions: [UIApplication.LaunchOptionsKey: Any]?) -> Bool {
    // Override point for customization after application launch.

    // Method 1: Quick Initialization
    OSLPayApp.setup()
    // Method 2: Full Parameter Passing Initialization
    OSLPayApp.setup(openSandBoxEnv: false, with: launchOptions, enableTrack: true)

    return true
}
3.Buy crypto
The SDK supports three buy crypto modes:
- Standard merchant buy crypto
- Standard wallet buy crypto
- Verification-free buy crypto
Merchant refers to non-Web3 wallet merchants. Standard merchant buy crypto is designed for non-Web3 wallet integrations and typically requires the fewest parameters.
3.1.Merchant buy crypto parameters:
| Parameter | Required | Description |
|---|---|---|
| appId | Yes | Merchant ID |
| No | User email address | |
| crypto | No | Target cryptocurrency |
| network | No | Withdrawal network |
| address | No | Withdrawal address |
| sign | Conditional | Required if address is provided. See Section 3.4 for signing rules. |
| fiatCurrency | No | Fiat currency code |
| amount | No | Fiat amount |
| payWayCode | No | Payment method, currently support: OSL_PaymentType.CARD (Bank card), OSL_PaymentType.APPLE_PAY (Apple Pay), OSL_PaymentType.VIETQR, OSL_PaymentType.PIX, OSL_PaymentType.SEPA, OSL_PaymentType.IBAN |
| merchantOrder | No | Your internal order ID for reconciliation |
| callbackUrl | No | Webhook push URL |
| onBuyCryptoSuccess | No | Success callback (best-effort delivery) |
| onBuyCryptoFail | No | Failure callback (best-effort delivery) |
Example code:
// Build buy crypto parameters
let businessModel = OSLPayAppBusinessModel.createBuyCryptoBusinessModel(
    appId: appId,
    merchantOrder: merchantOrder,
    email: email,
    address: address,
    crypto: crypto,
    network: network,
    fiatCurrency: fiatCurrency,
    amount: amount,
    payWayCode: payWayCode,
    callbackUrl: callbackUrl,
    sign: sign)
// Initiate purchase
OSLPayApp.buyCrypto(businessModel: businessModel)
3.2.Wallet buy crypto parameters
In this context, "Wallet" refers to Web3 wallet merchants. Wallet Buy Crypto is a specialized service tailored for Web3 wallet providers, featuring parameter requirements that differ slightly from standard merchant integration.
Parameter description:
| Parameter | Required | Description |
|---|---|---|
| appId | Yes | Merchant ID |
| No | User email address; must follow standard email formatting | |
| crypto | No | Target cryptocurrency |
| network | No | Withdrawal network |
| address | No | Withdrawal address |
| sign | Yes | Parameter signature. Requires signing of merchantUser and address (if provided). See Section 3.4 for signing rules. |
| fiatCurrency | No | Fiat currency |
| amount | No | Fiat amount |
| payWayCode | No | Payment method, currently support: OSL_PaymentType.CARD (Bank card), OSL_PaymentType.APPLE_PAY (Apple Pay), OSL_PaymentType.VIETQR, OSL_PaymentType.PIX, OSL_PaymentType.SEPA, OSL_PaymentType.IBAN |
| merchantOrder | No | Merchant-side order ID used to link external orders with OSL Pay orders. |
| callbackUrl | No | The webhook push URL |
| onBuyCryptoSuccess | No | Success callback (not guaranteed by the SDK) |
| onBuyCryptoFail | No | Failure callback (not guaranteed by the SDK) |
| merchantUser | Yes | Merchant-side user ID |
| firstBuy | No | Indicates if this is the user's first wallet purchase. Defaults to false |
Example code:
// Build buy crypto parameters
let businessModel = OSLPayAppBusinessModel.createBuyCryptoBusinessModel(
    appId: appId,
    merchantOrder: merchantOrder,
    merchantUser: merchantUser,
    email: email,
    address: address,
    crypto: crypto, network: network, fiatCurrency: fiatCurrency,
    amount: amount,
    payWayCode: payWayCode,
    callbackUrl: callbackUrl,
    sign: sign,
    checkType: checkType)
// Initiate purchase
OSLPayApp.buyCrypto(businessModel: businessModel)
3.3.Verification-free buy crypto
Verification-free buy crypto is available for both merchants and wallets. Compared to standard purchase modes, the system automatically logs the user in, bypassing manual authentication and significantly shortening the conversion funnel.
Verification-free buy crypto parameters
| Parameter | Required | Description |
|---|---|---|
| appId | Yes | Merchant ID |
| Yes | User email address; must follow standard email formatting | |
| crypto | No | Target cryptocurrency |
| network | No | Withdrawal network |
| address | No | Withdrawal address |
| sign | Conditional | Required if address is provided; otherwise optional. See Section 3.4 for signing rules. |
| fiatCurrency | No | Fiat currency |
| amount | No | Fiat amount |
| payWayCode | No | Payment method, currently support: OSL_PaymentType.CARD (Bank card), OSL_PaymentType.APPLE_PAY (Apple Pay), OSL_PaymentType.VIETQR, OSL_PaymentType.PIX, OSL_PaymentType.SEPA, OSL_PaymentType.IBAN |
| merchantOrder | No | Merchant-side order ID used to link external orders with OSL Pay orders |
| callbackUrl | No | The webhook push URL |
| onBuyCryptoSuccess | No | Success callback (not guaranteed by the SDK) |
| onBuyCryptoFail | No | Failure callback (not guaranteed by the SDK) |
| accessToken | Yes | User authentication token obtained via OpenAPI (valid for 2 hours). Refer to documentation for details |
Example code:
// Build buy crypto parameters
let businessModel = OSLPayAppBusinessModel.createBuyCryptoOAuthBusinessModel(
    appId: appId,
    merchantOrder: merchantOrder,
    merchantUser: nil,
    email: email,
    address: address,
    crypto: crypto,
    network: network,
    fiatCurrency: fiatCurrency,
    amount: amount,
    payWayCode: payWayCode,
    callbackUrl: callbackUrl,
    accessToken: accessToken,
    sign: sign)
// Initiate purchase
OSLPayApp.buyCryptoOAuth(businessModel: businessModel)
3.4.Generation rules for the sign parameter
For security, the caller must sign the address or merchantUser parameters (when provided) and pass the result to the sign parameter. Upon receipt, the API verifies the signature; subsequent business logic only proceeds if verification is successful.
For more details, refer to the official documentation: "Signing Rules."
Signature generation rules:
| Purchase type | address included? | String to sign |
|---|---|---|
| Merchant Buy / Verification-free buy crypto | No | No signature required |
| Merchant Buy / Verification-free buy crypto | Yes | appId=%s&address=%s |
| Wallet Buy | No | appId=%s&merchantUser=%s |
| Wallet Buy | Yes | appId=%s&merchantUser=%s&address=%s |
Example code for signature generation:
let sourceData = "appId=\(appId)&merchantUser=\(merchantUser)&reqNo=\(reqNo)&redirectUrl=\(redirectUrl)"
let sign: String = OSL_RSAUtils.sign(sourceData: sourceData, pkcs1PrivateKey: pkcs1PrivateKey)
4.Wallet authorization
Generally, a Web3 wallet may manage multiple users. Wallet authorization facilitates the binding of multiple merchant-side user IDs to a single user email address. The integration process mirrors the crypto purchase flow: you must first construct the authorization parameters and then invoke the authorization method.
Parameter description:
| Parameter | Required | Description |
|---|---|---|
| appId | Yes | Merchant ID |
| Yes | User email address; must follow standard email formatting | |
| merchantUser | Yes | Web3 merchant-side user ID |
| requestNo | Yes | Unique request serial number; must not be repeated |
| redirectUrl | Yes | Redirect URL (web compatible; can be any valid string) |
| sign | Yes | Parameter signature. Refer to Section 3.4 for signature generation rules |
| onSuccess | No | Callback triggered upon successful authorization |
Once the parameters are constructed, call the authorizeWallet method to initiate the authorization process:
- appId: Merchant ID (required).
- email: User email address; must follow a valid format (required).
- merchantUser: Merchant-side user ID (required).
- requestNo: Unique request serial number; must not be duplicated (required).
- redirectUrl: Redirect URL for web compatibility; can accept any valid value (required).
- sign: Parameter signature (required).
- onSuccess: Callback triggered upon successful authorization (optional).
Example code:
// Build authorization parameters
let businessModel = OSLPayAppBusinessModel.createAuthorizeWalletBusinessModel(
    appId: appId,
    merchantUser: merchantUser,
    email: email,
    reqNo: reqNo,
    redirectUrl: redirectUrl,
    sign: sign)
// Initiate wallet authorization
OSLPayApp.authorizeWallet(businessModel)
SDK supported languages
The SDK currently supports the following languages:
| Code | Language | Supported |
|---|---|---|
| zh-CN | Simplified Chinese | ✓ |
| zh-TW | Traditional Chinese | ✓ |
| ar-SA | بالعربية | ✓ |
| de | German | ✓ |
| en | English | ✓ |
| es-ES | Spanish | ✓ |
| es-AR | Spanish (International) | ✓ |
| fr | French | ✓ |
| id | Bahasa Indonesia | ✓ |
| it | Italian | ✓ |
| ja | Japanese | ✓ |
| pl | Polish | ✓ |
| pt-BR | Portuguese (Brazil) | ✓ |
| pt-PT | Portuguese (Portugal) | ✓ |
| ru | Russian | ✓ |
| uk | Ukrainian | ✓ |
| uz | Uzbek | ✓ |
| vi | Vietnamese | ✓ |
Note: Other built-in languages (such as Filipino, Korean, Dutch, Swedish, Thai, Turkish, and Hong Kong Traditional) are currently in a reserved state. Please contact support to enable these.
Official reference documents
- Sandbox Test Guide: Sandbox Test Guide
- Generate AccessToken via OpenAPI: Generate AccessToken
- Encryption & Signing:Encryption, decryption, and signature verification